Skip To: .. What Does the Resolution Do?....How to Convert Uploaded Images
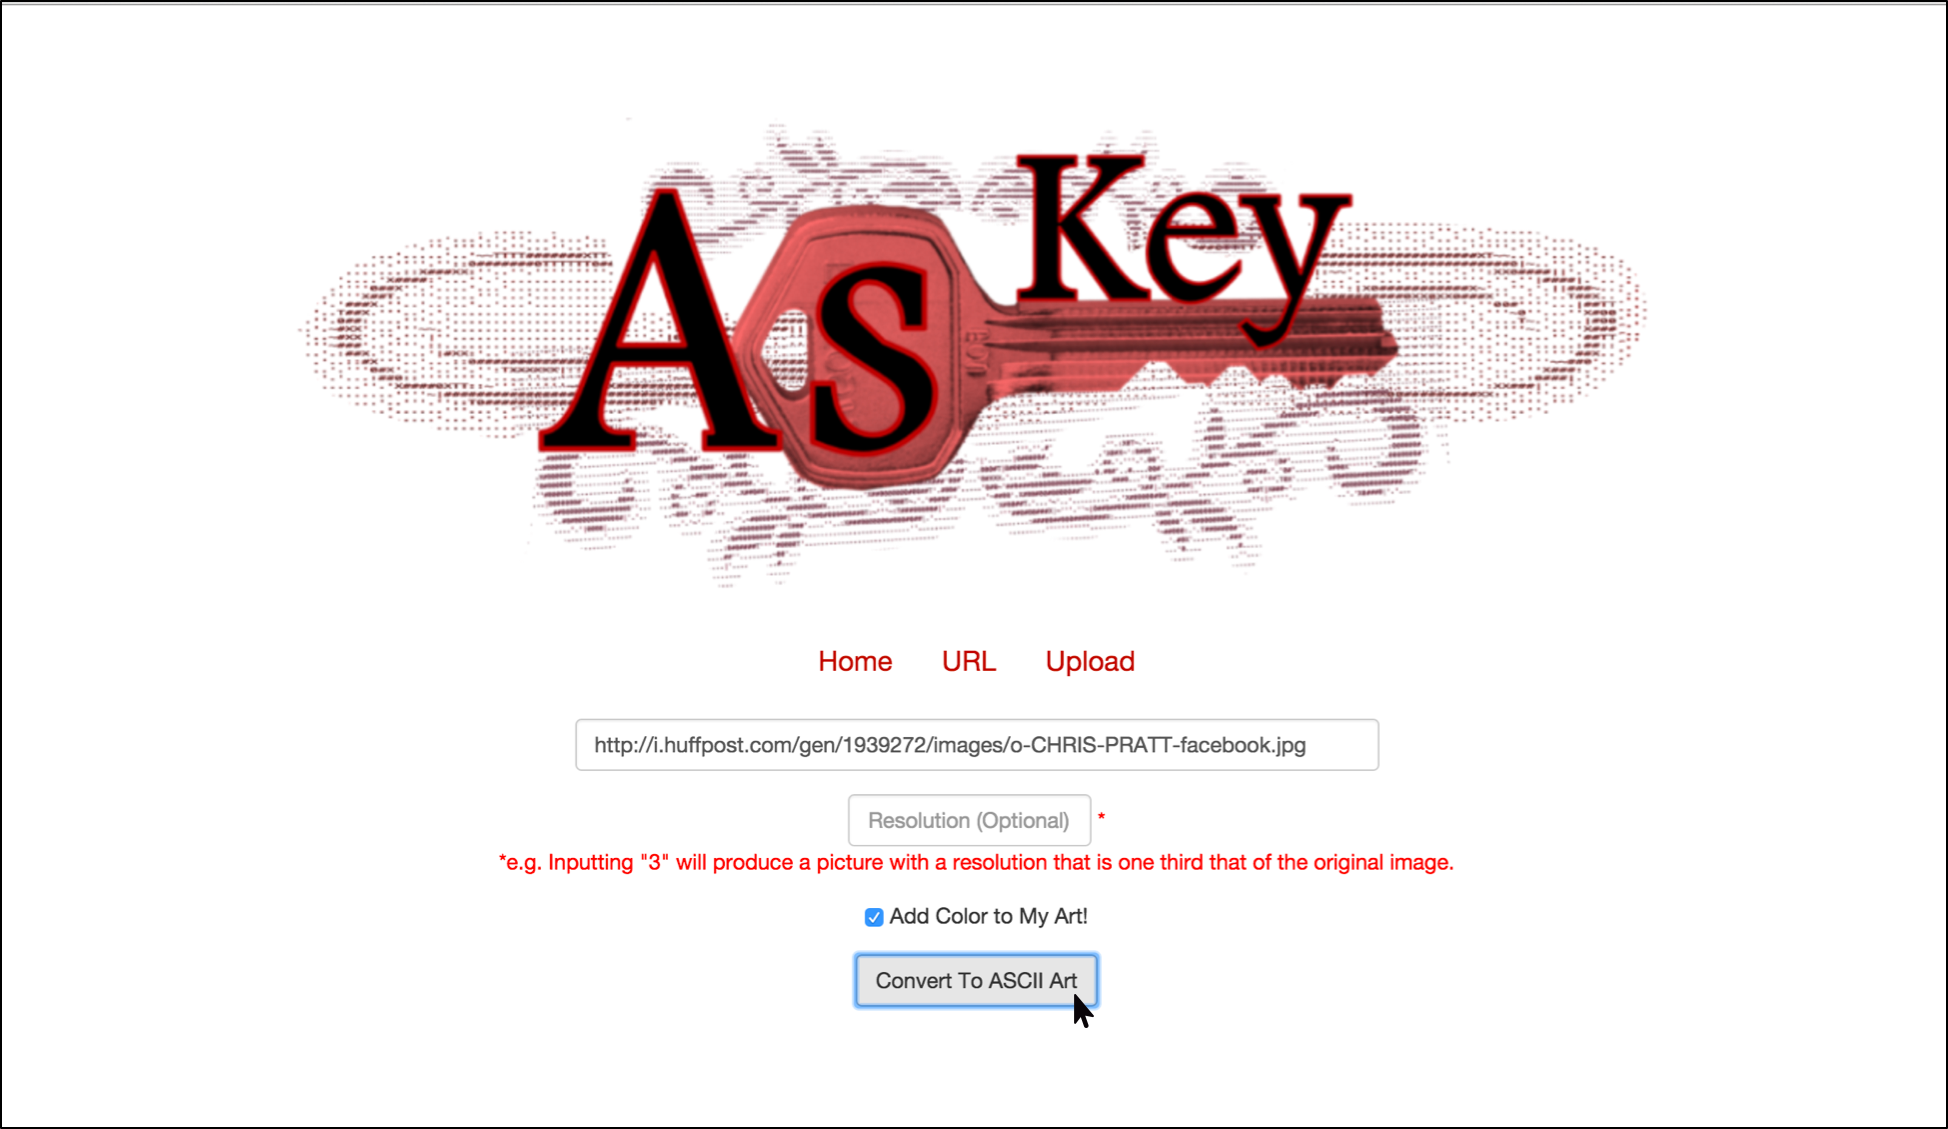
Converting images to ASCII Art using their URLs
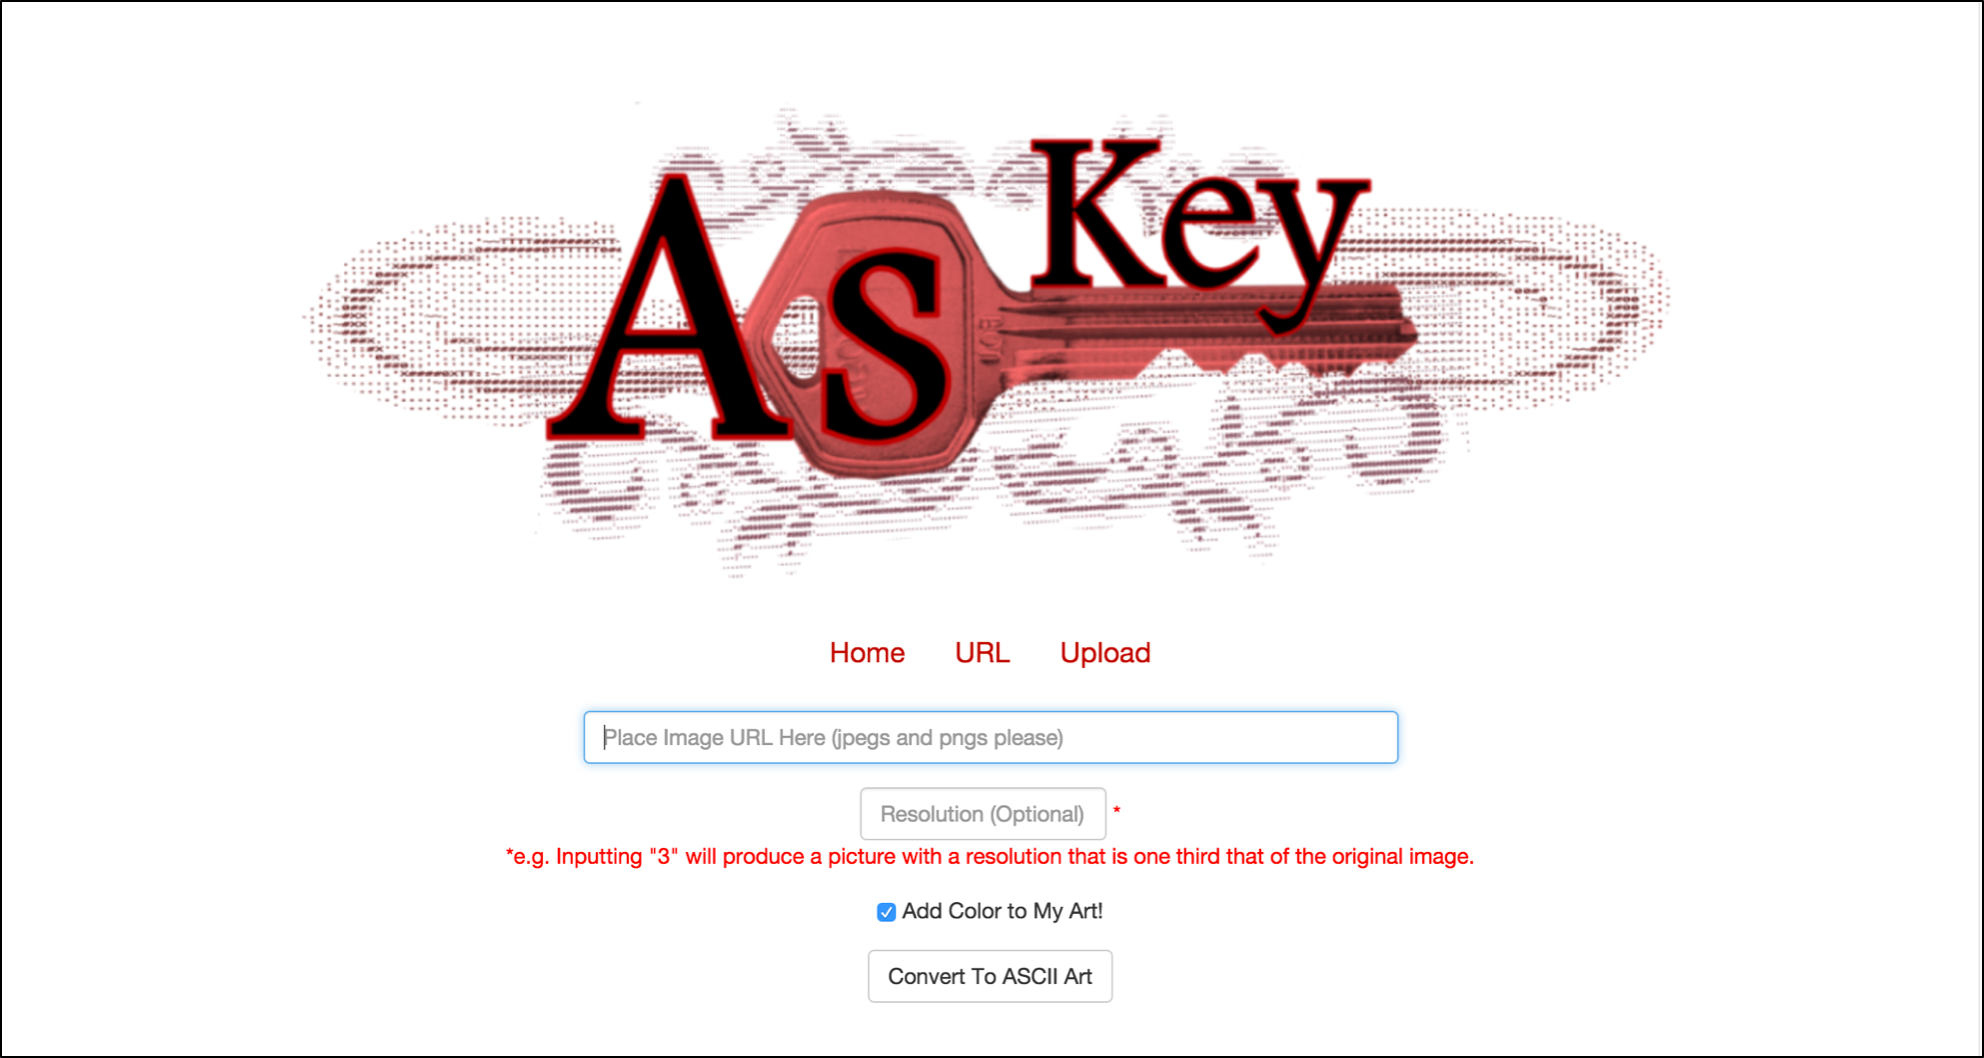
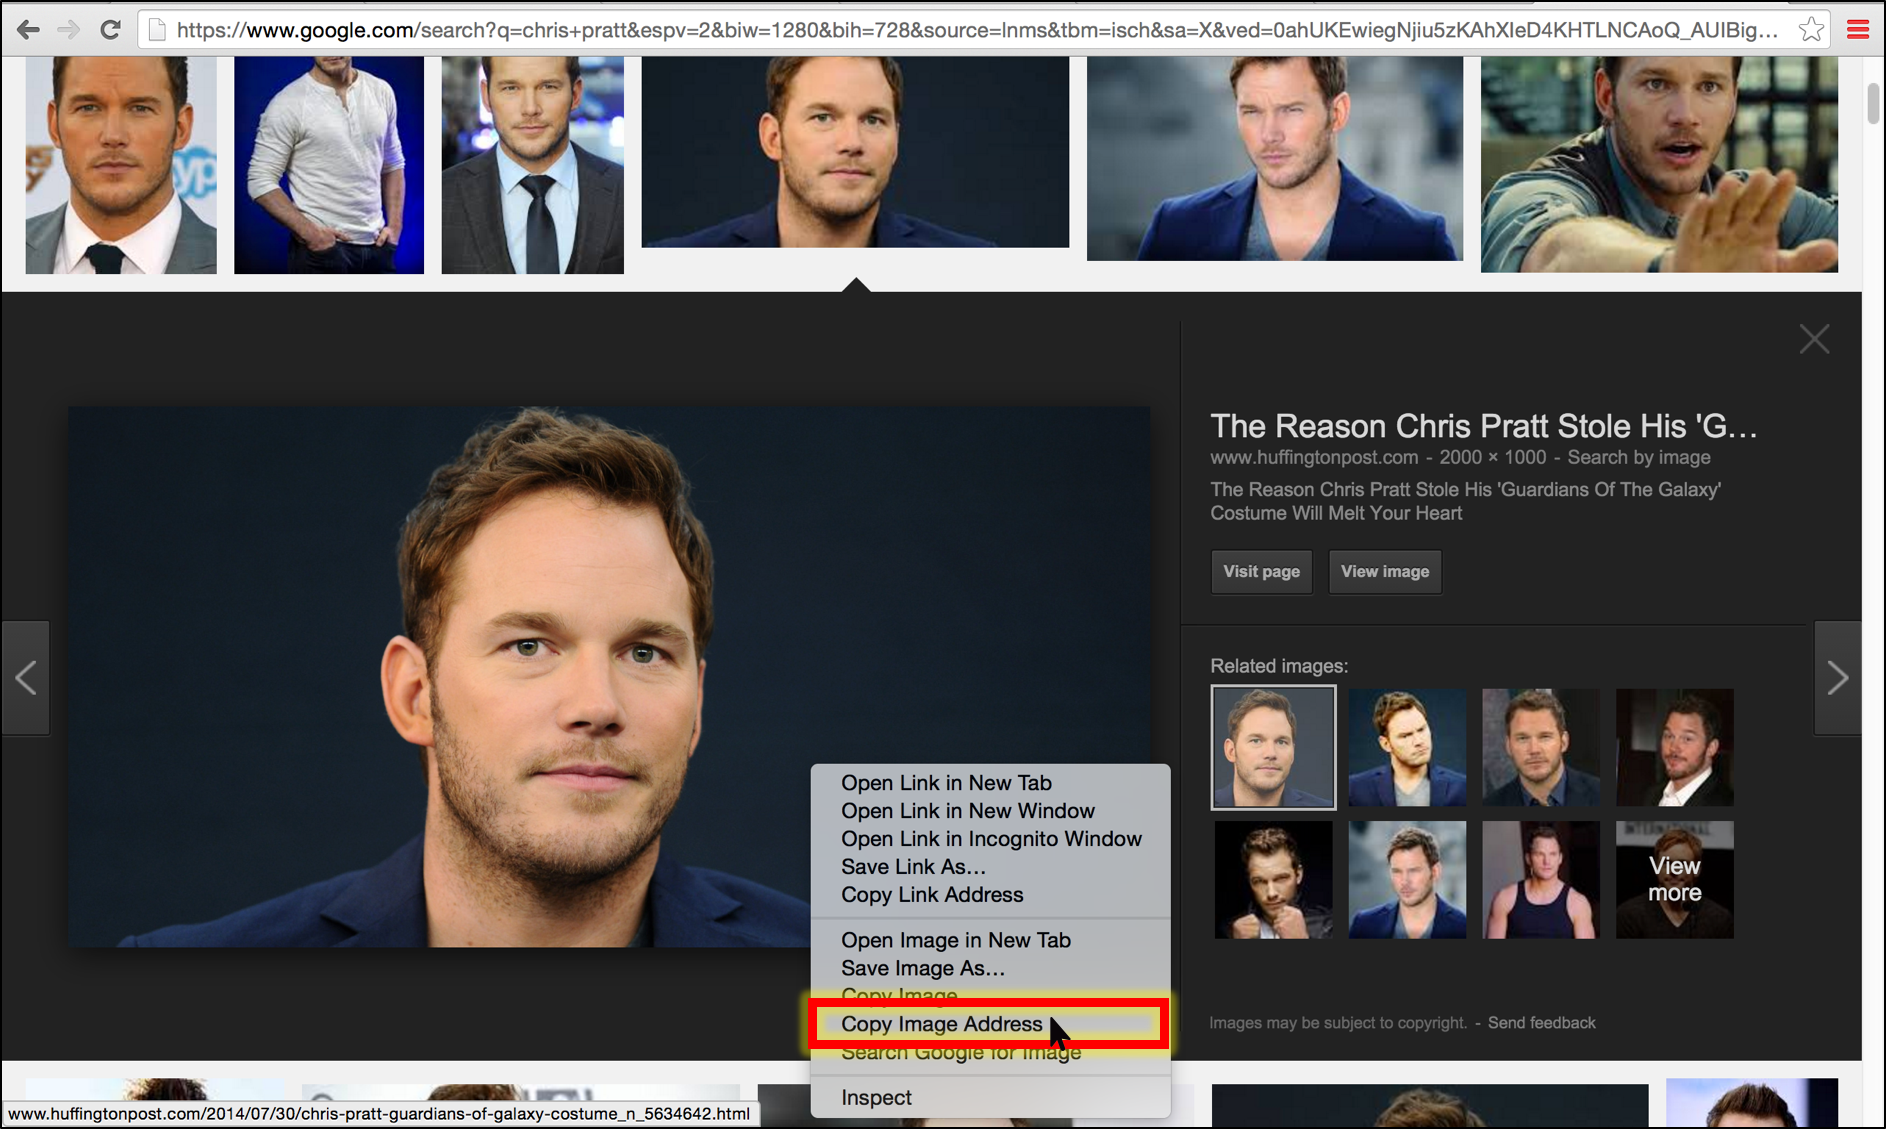
To get a picture's URL, you can right-click or control-click it and copy its image address.
Alternatively, if you are on Google Images, you could also click 'View image'
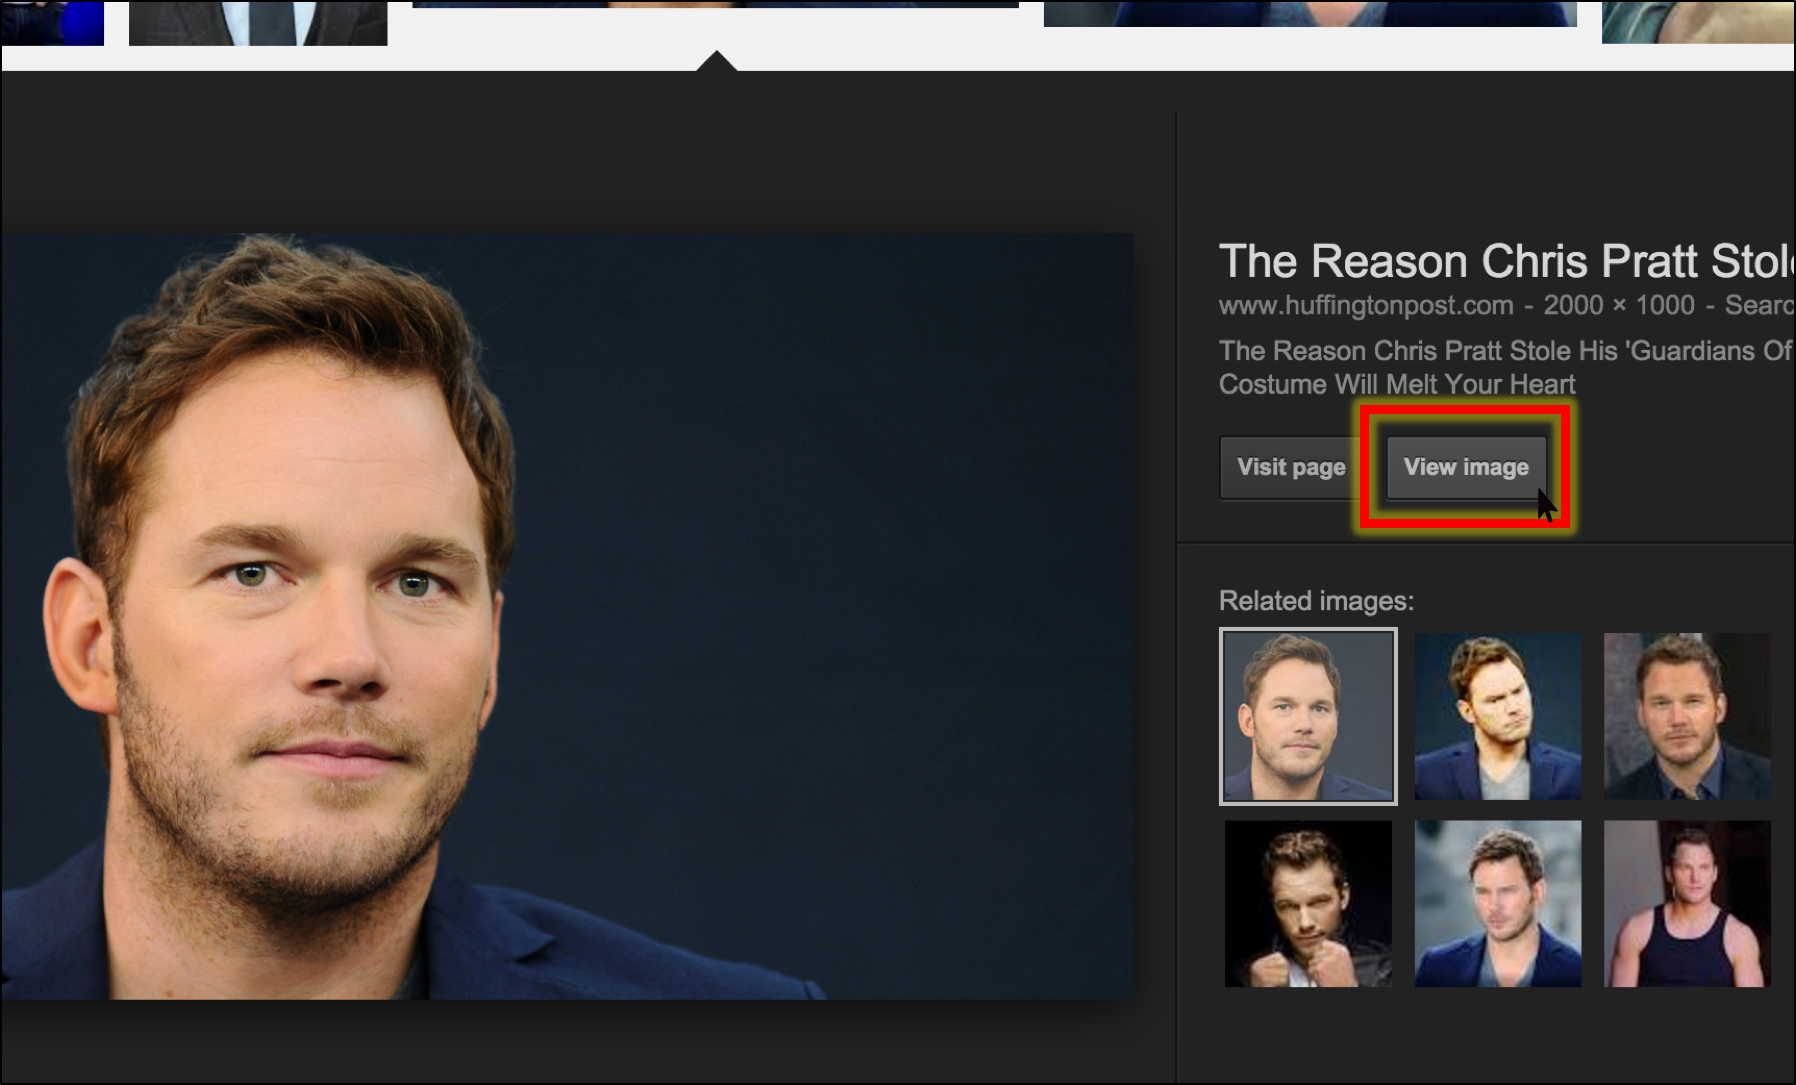
and copy the address bar on the next page.
Go back to the AsKey page and paste the URL the upper text box. Then, click 'Convert to ASCII Art.'
(A default resolution will be assigned to the art.)
Viola!
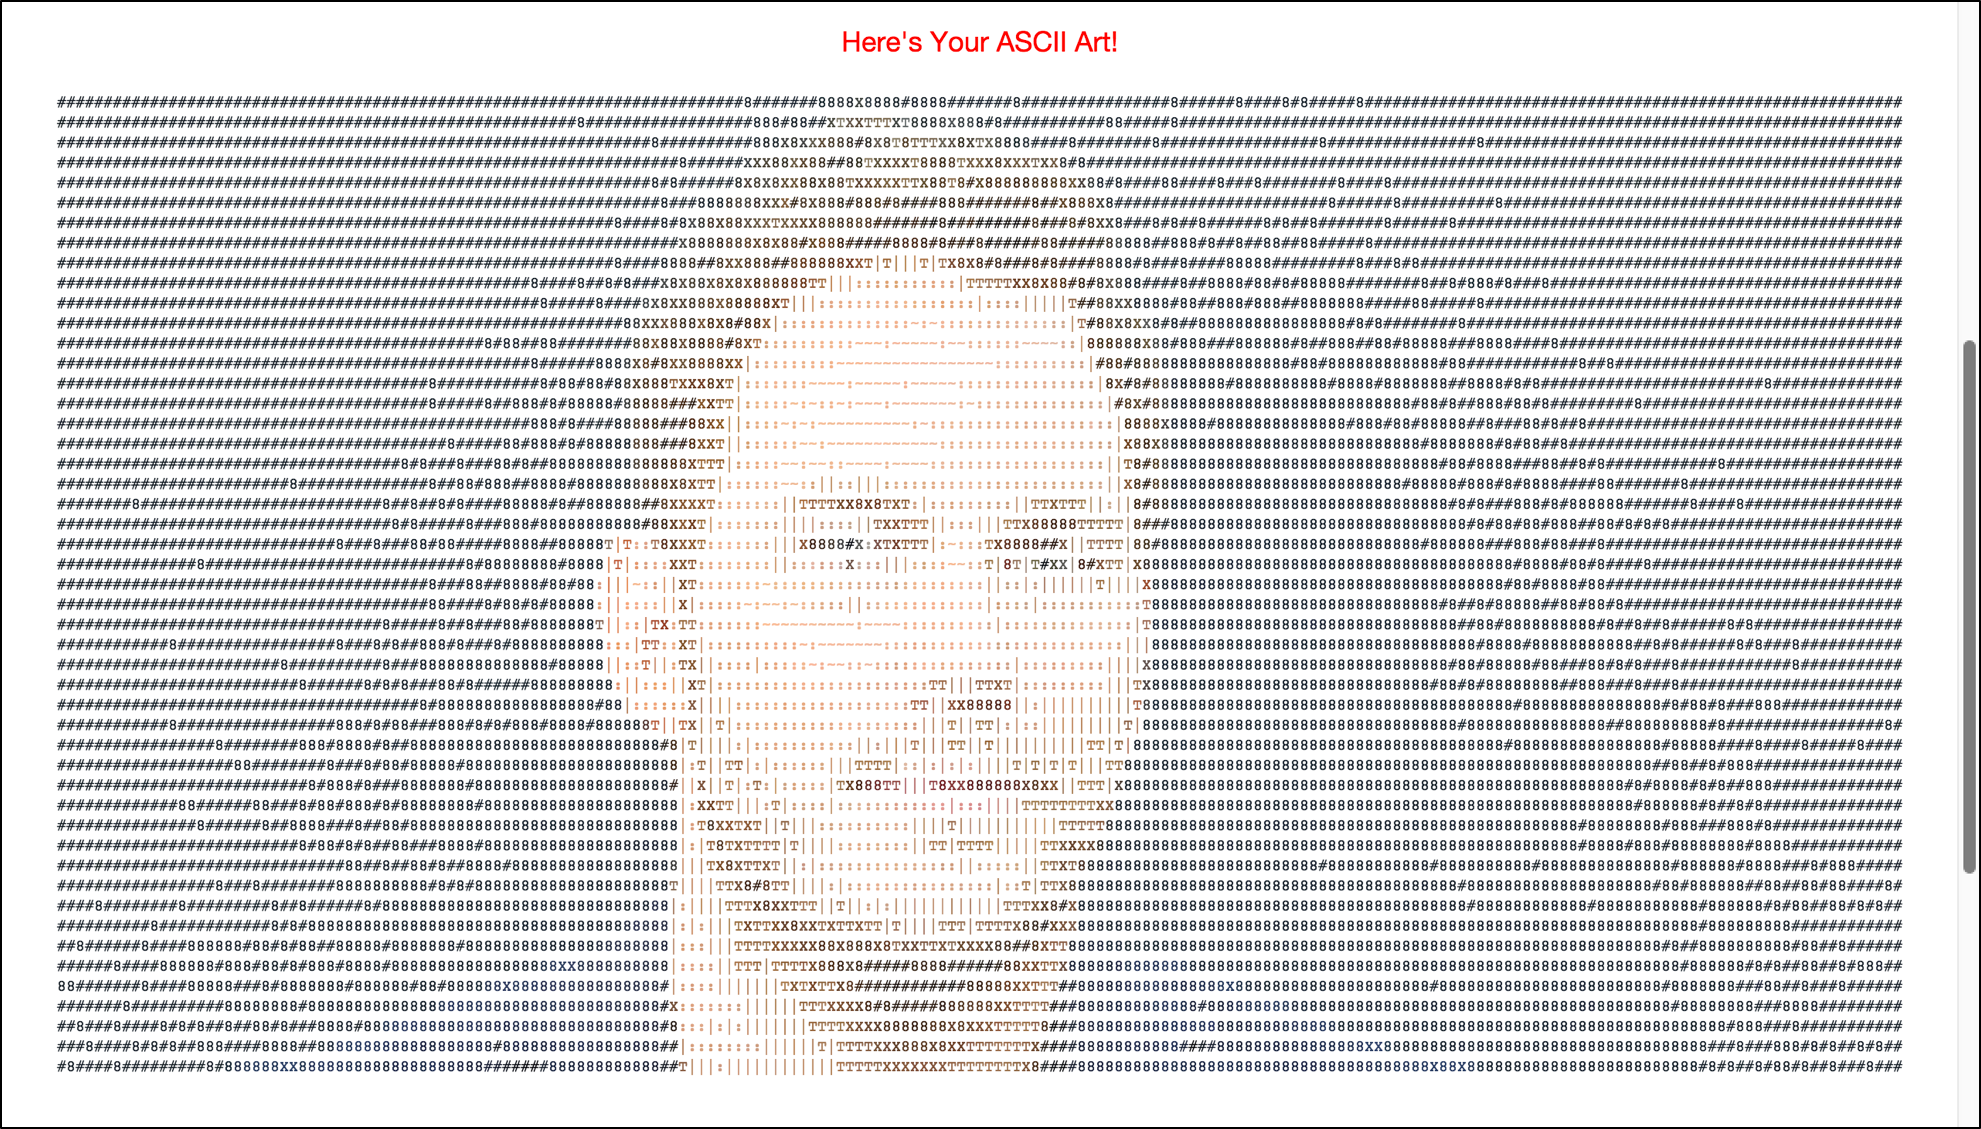
Note: If the 'Add Color to My Art' box was not checked, the final image would be exactly the same except without color.

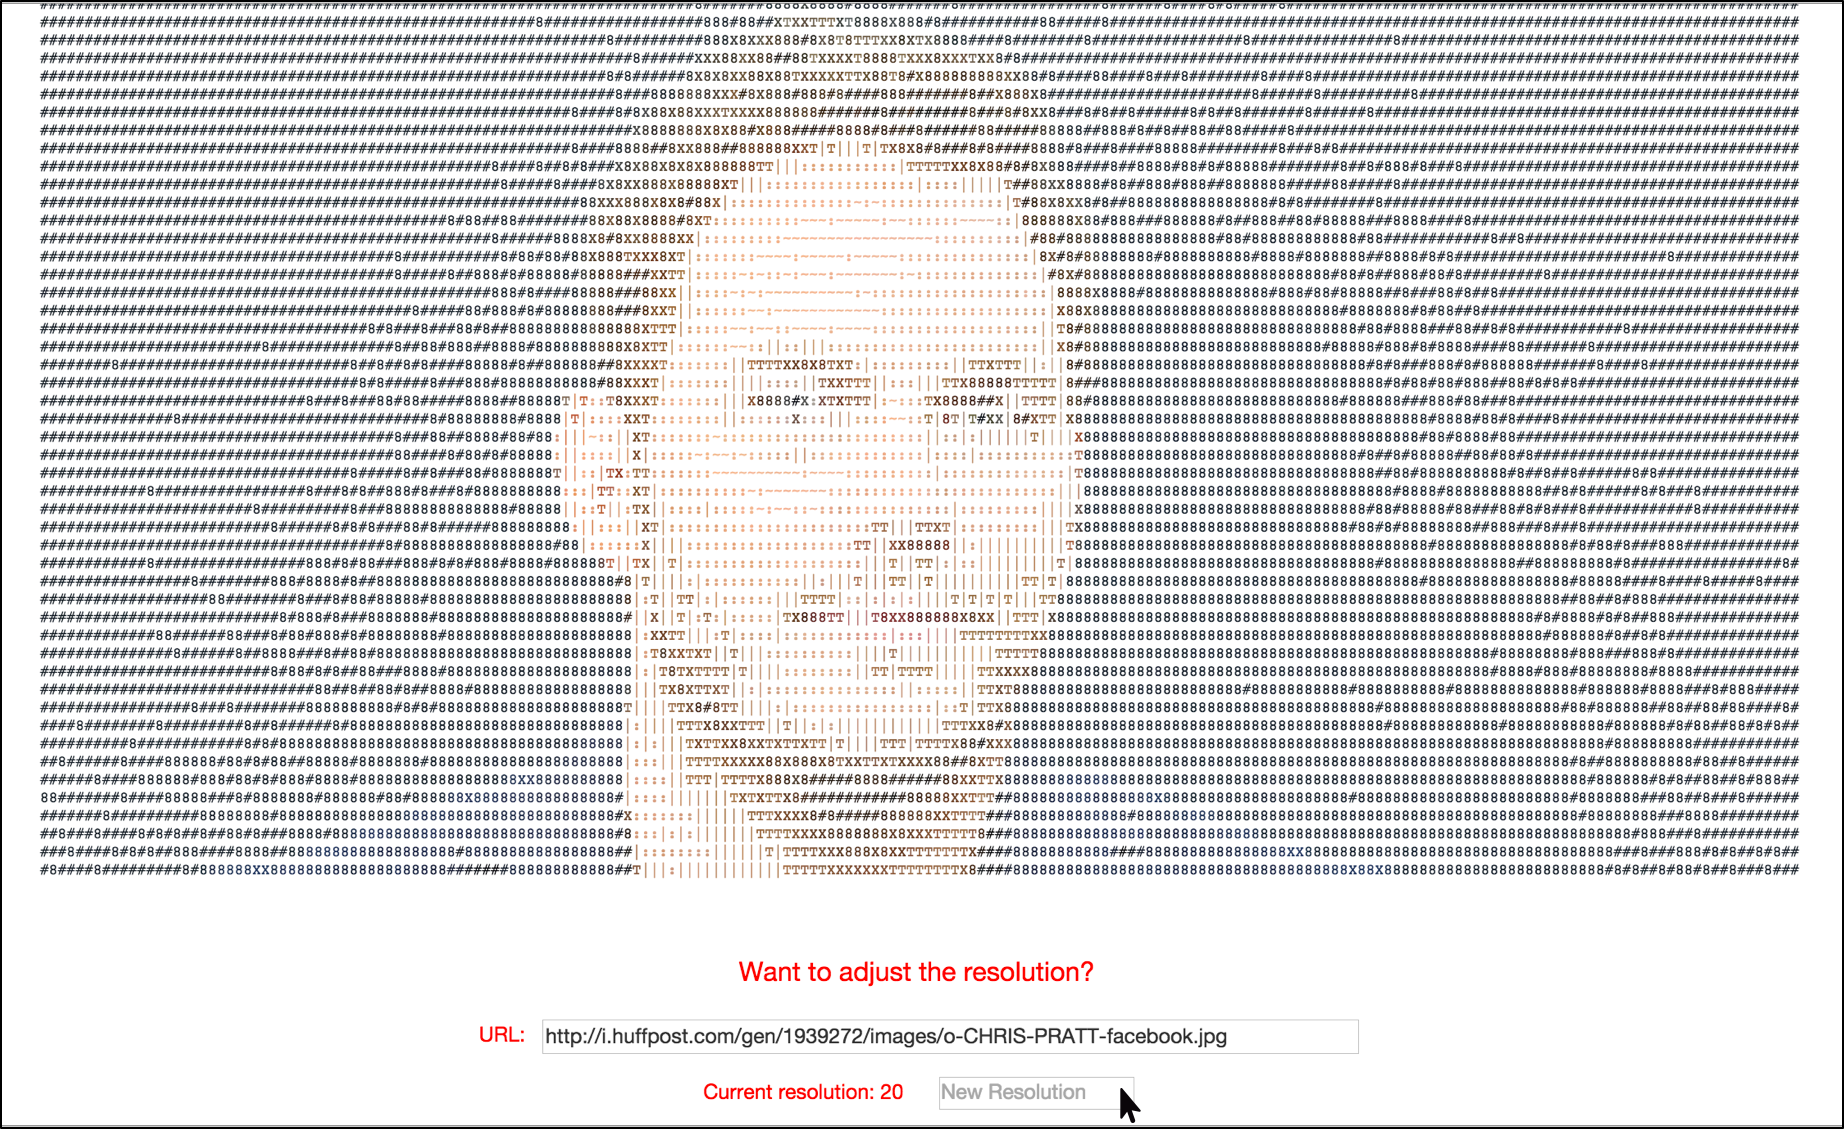
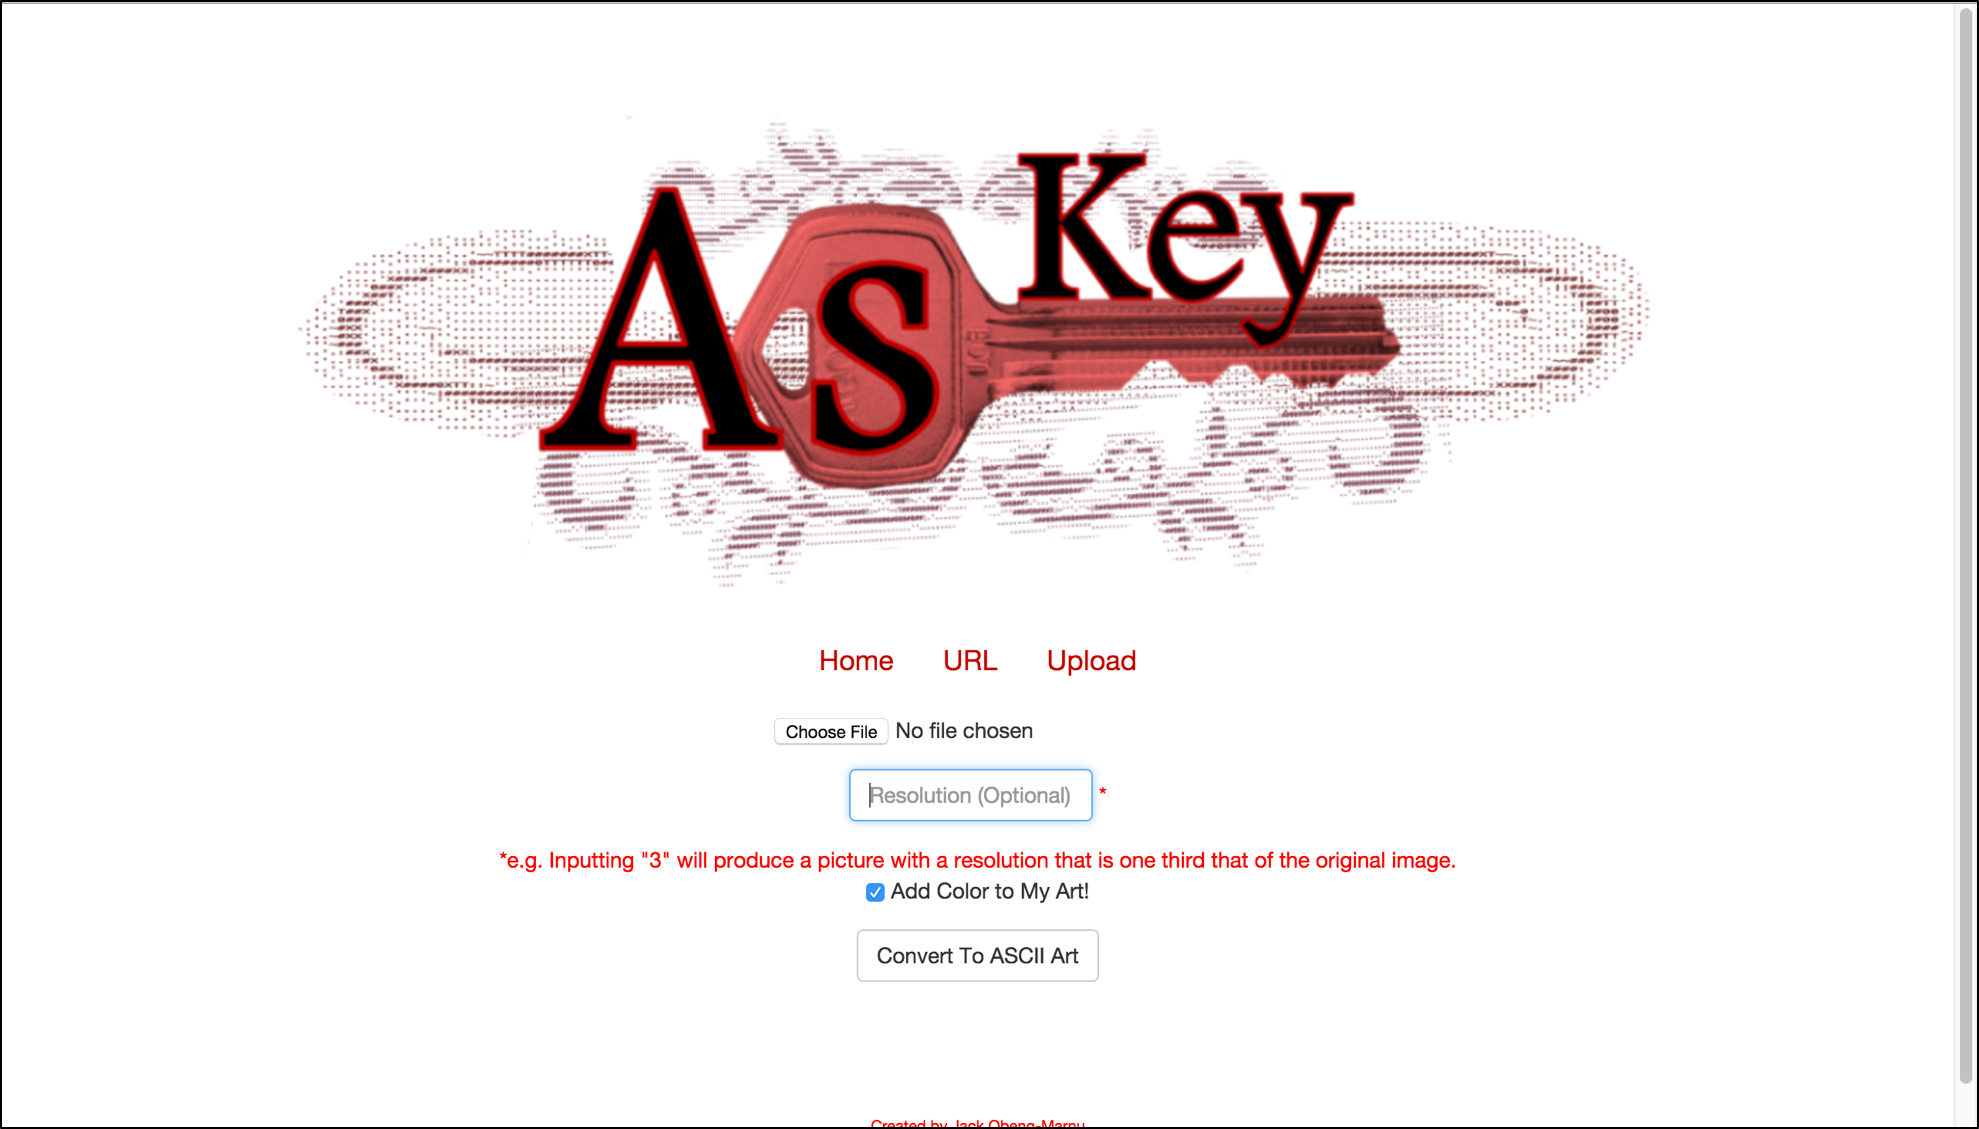
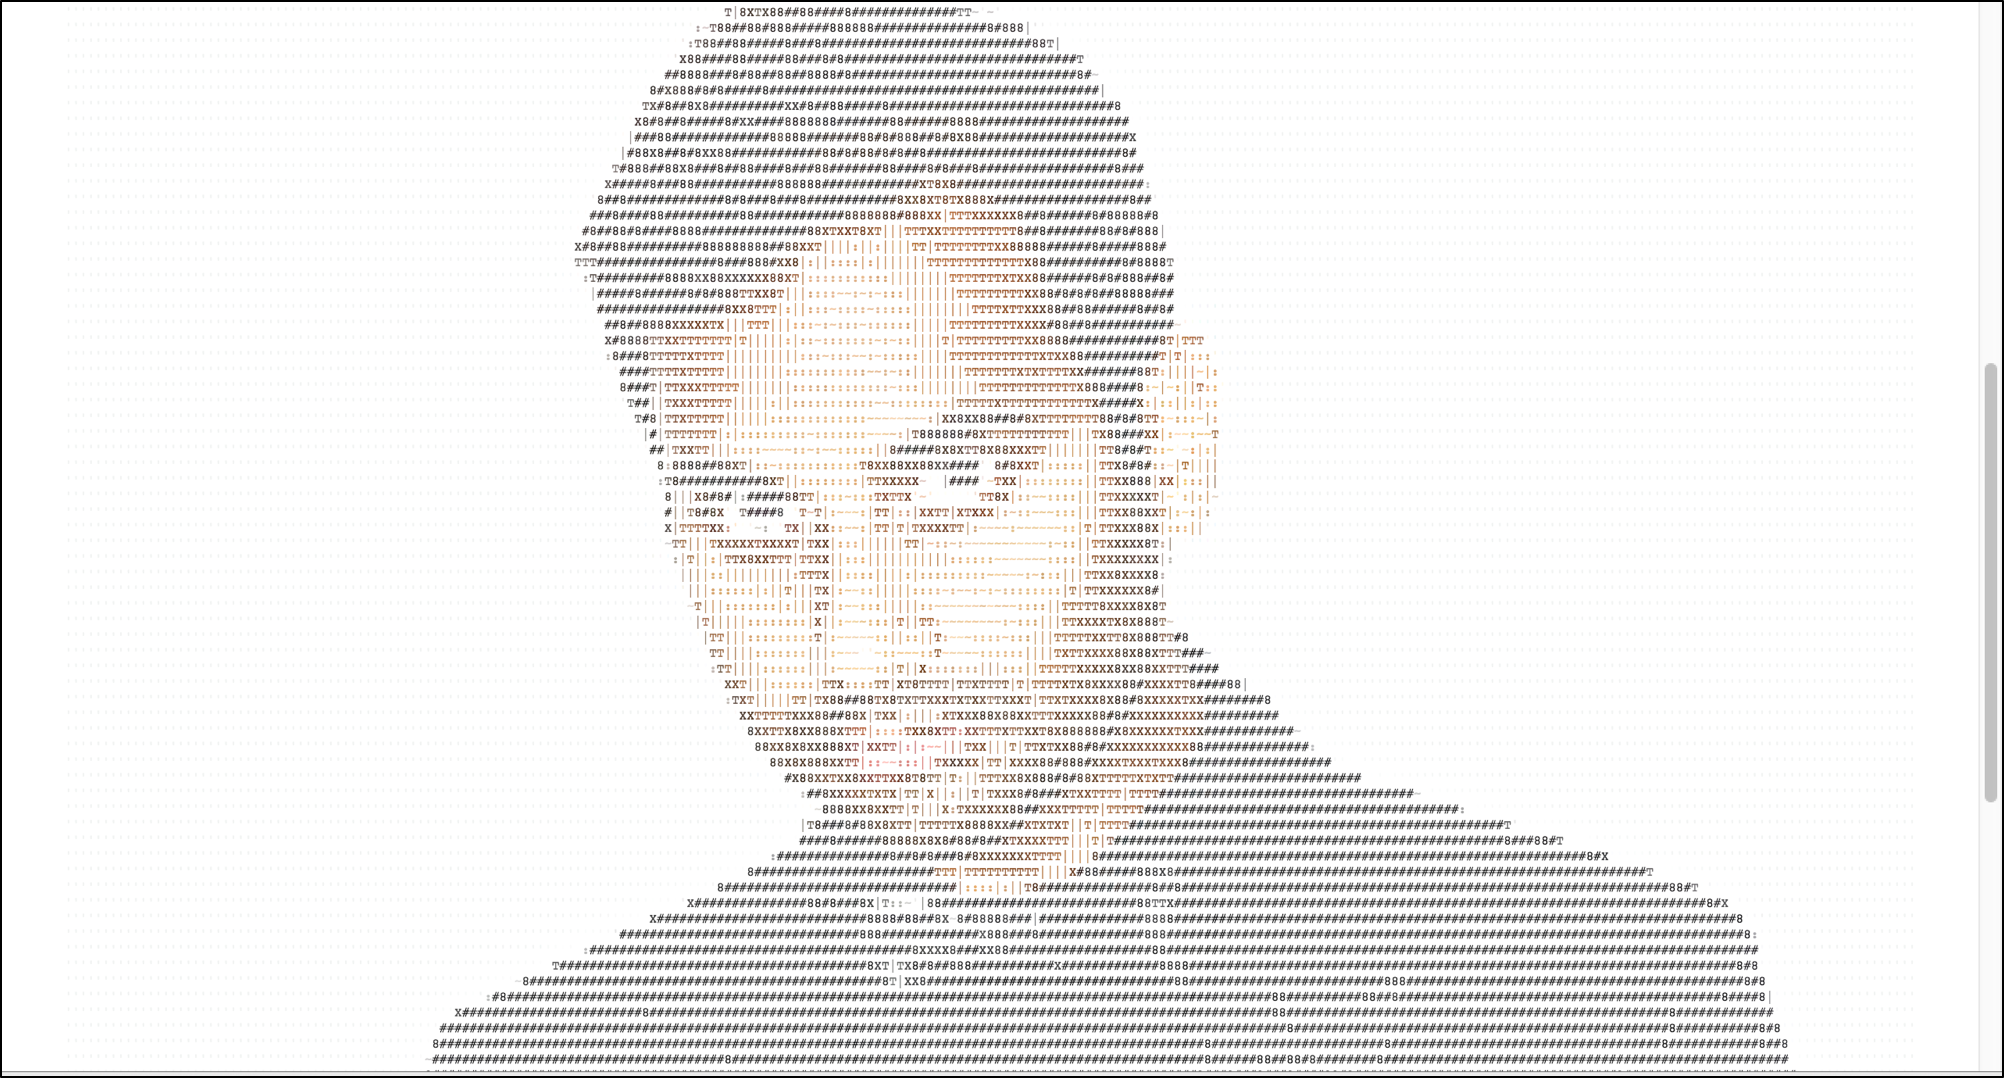
Resolution
Underneath your ASCII Art, you're given the opportunity to change the image's resolution.
The resolution text boxes work as follows: inputting a number x generates ASCII Art with a resolution that is 1/x that of the original image.
Thus, requesting a resolution of 1 would create ASCII Art that has the exact same resolution of the original image in which every single pixel of the original is represented.
It then follows that smaller resolution numbers produce more detailed ASCII Art.
When the resolution box is left blank, a default value that generates decent art is assigned.
Note: The more detailed the ASCII Art is, the longer it will take to be generated. Also, for most pictures, a resolution between 3 and 30 is best.
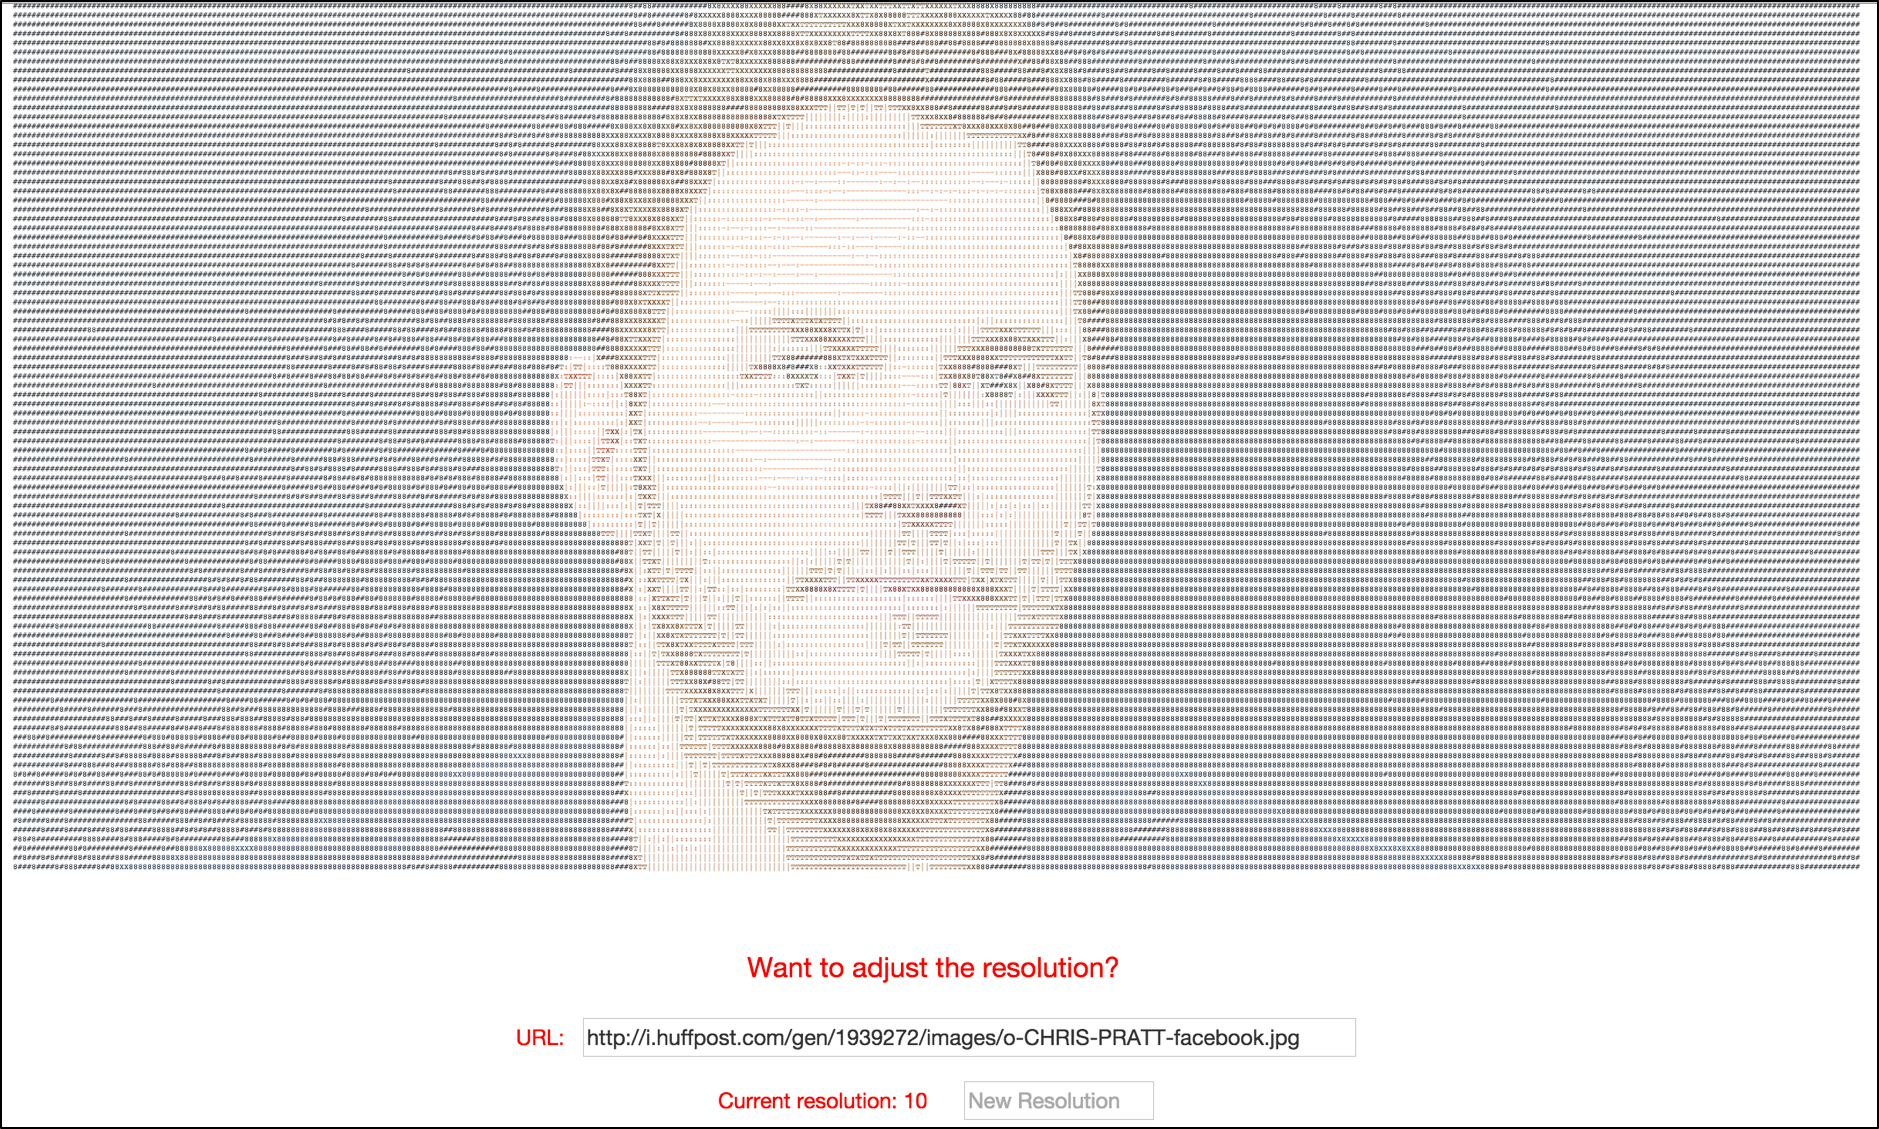
For this example, a default value of 20 was assigned for the resolution.
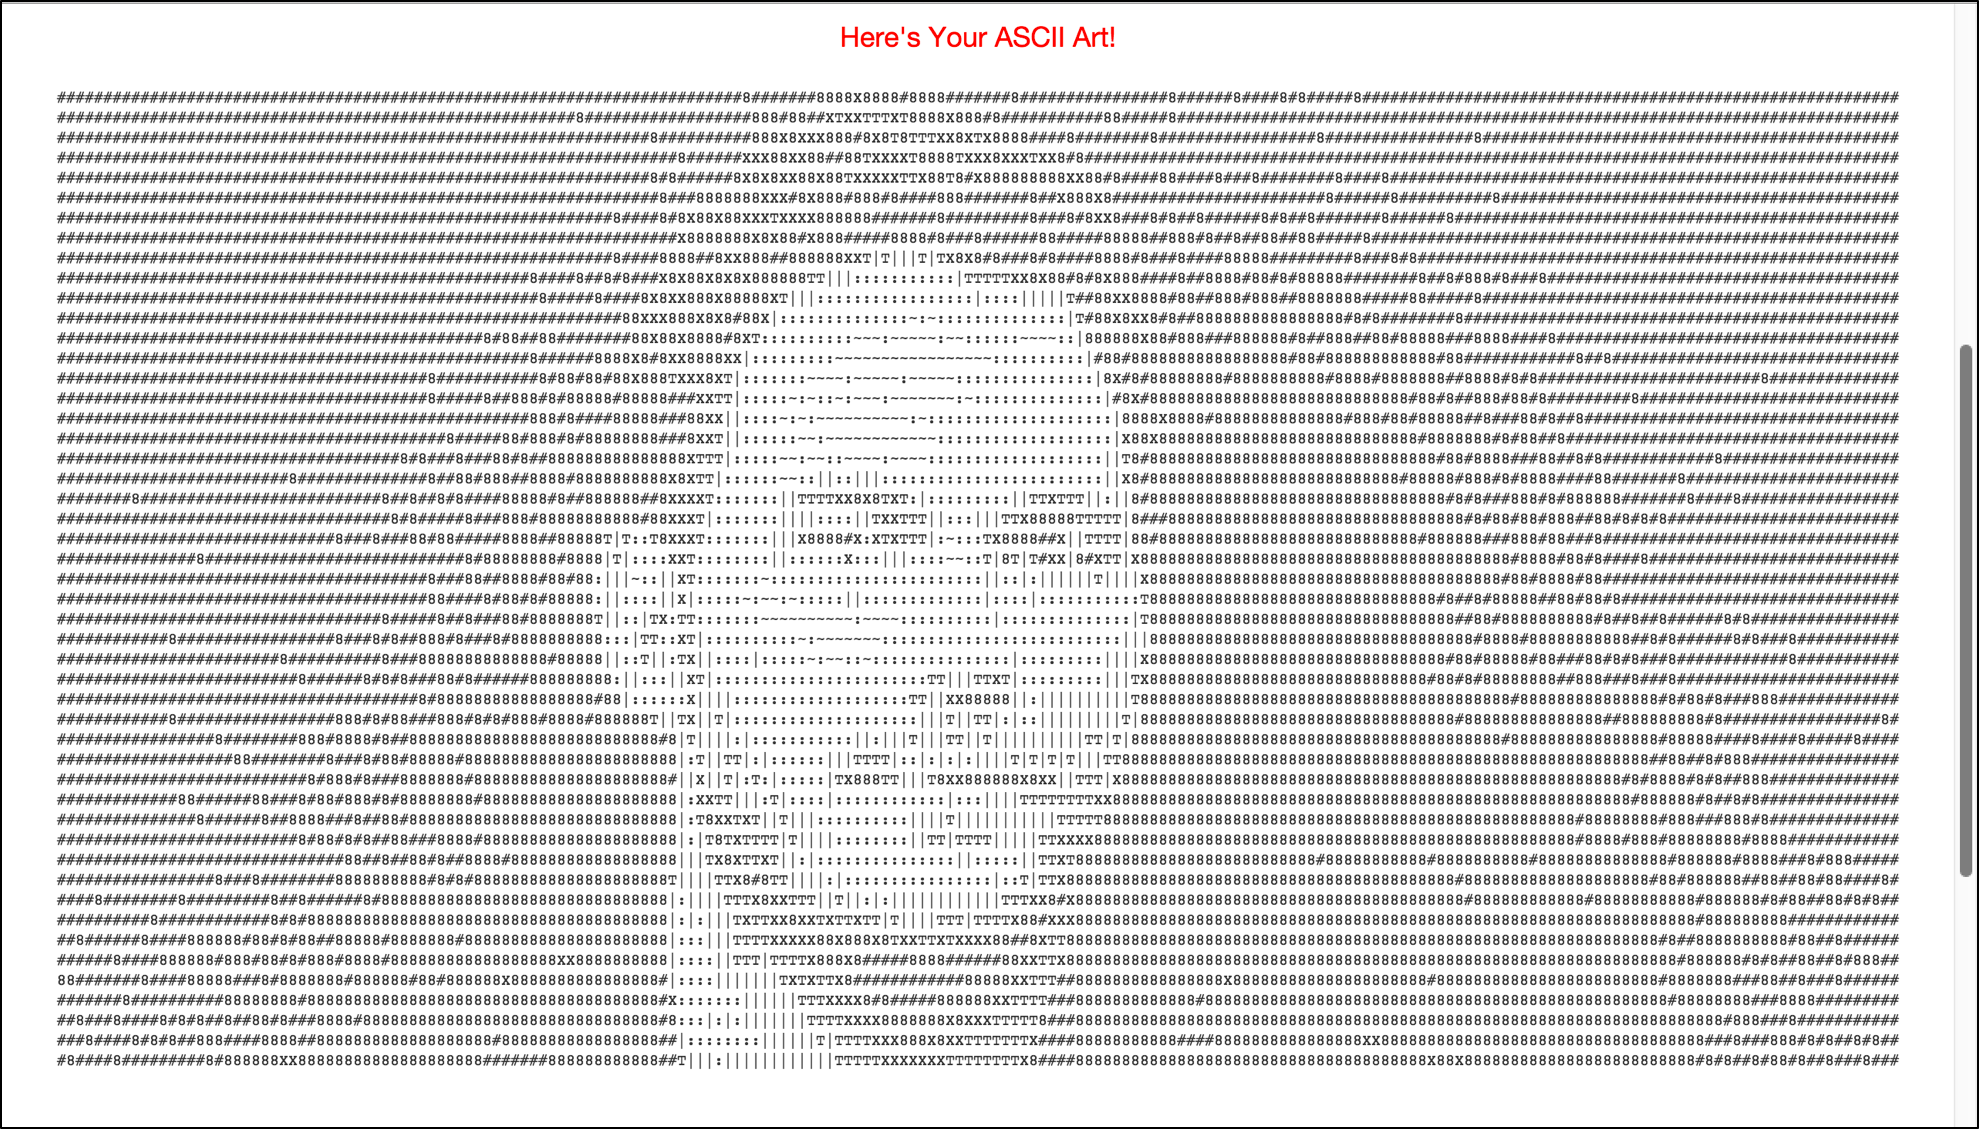
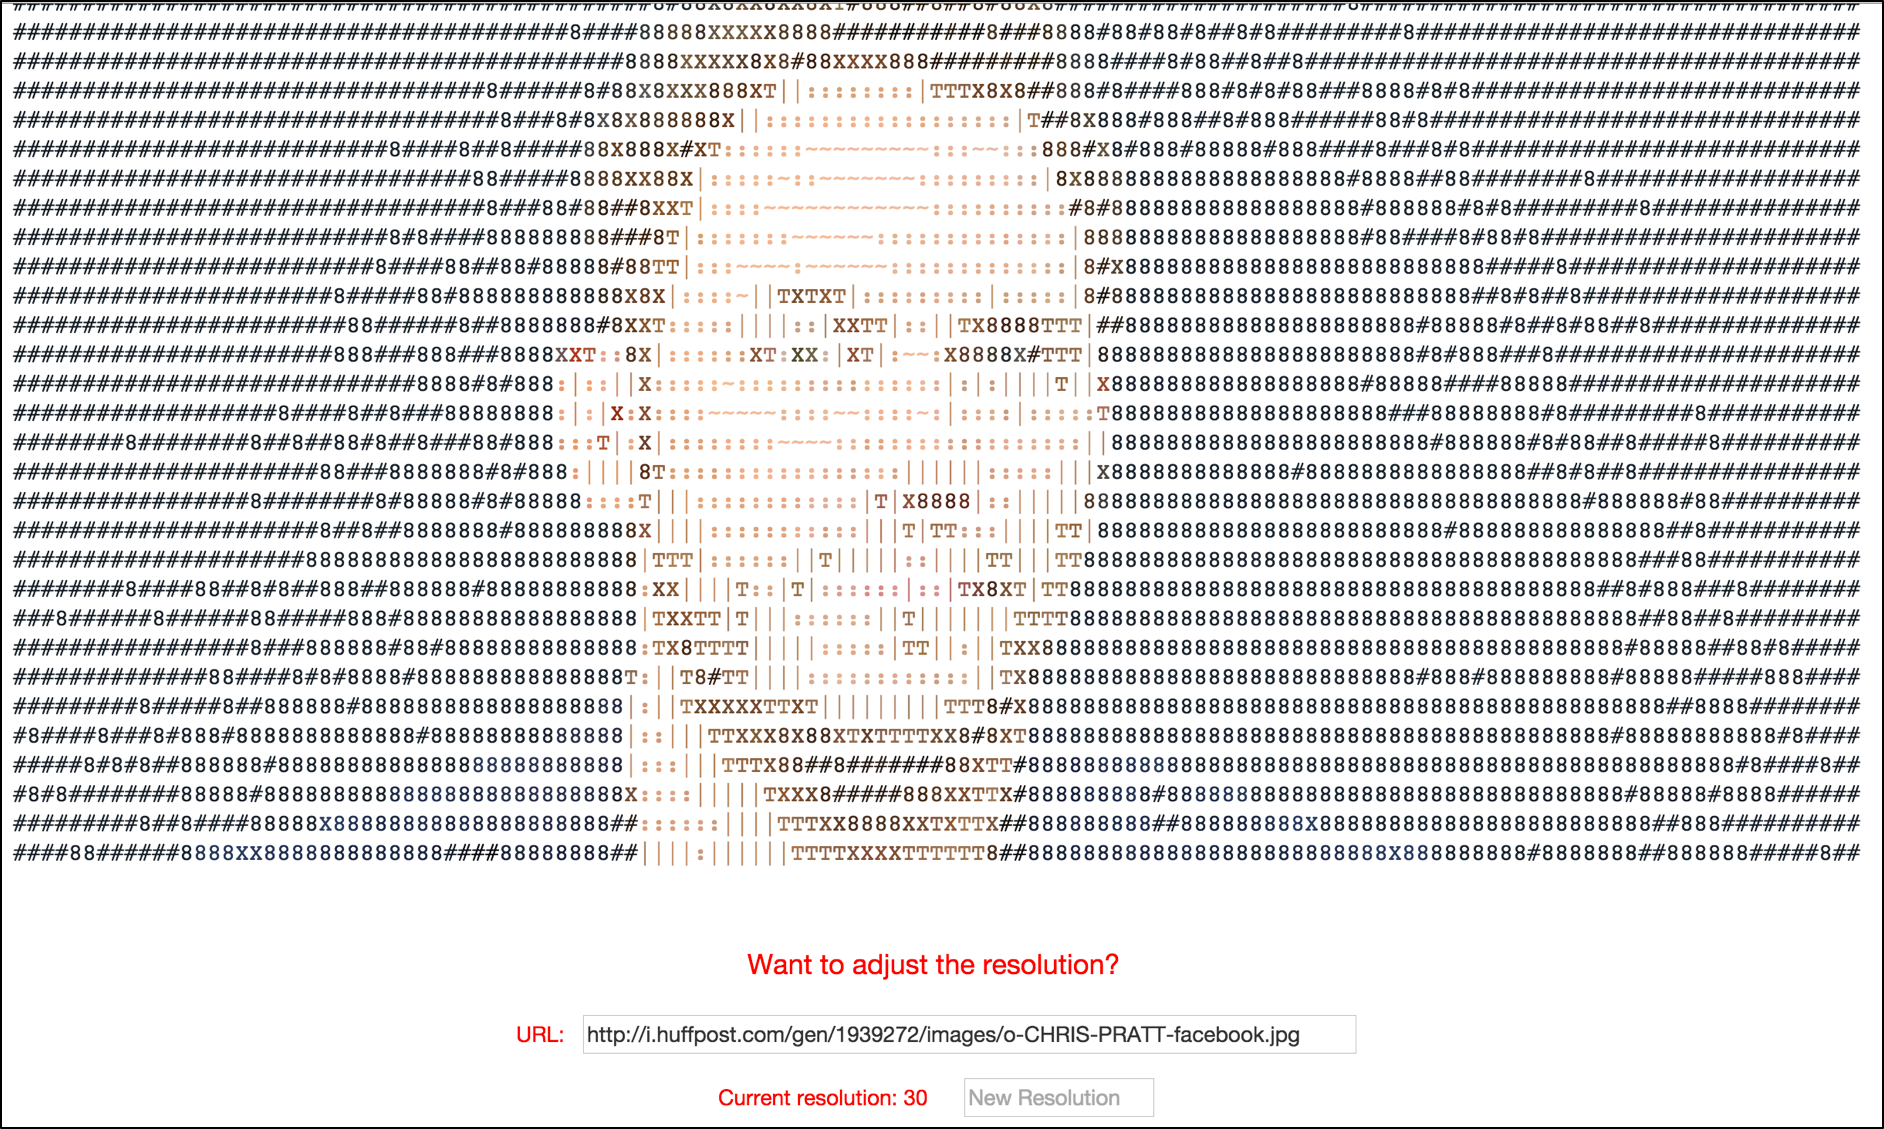
As you can see, changing the resolution to 10, significantly increases the detail.
Conversely, inputting a higher number for resolution decreases the art's detail.
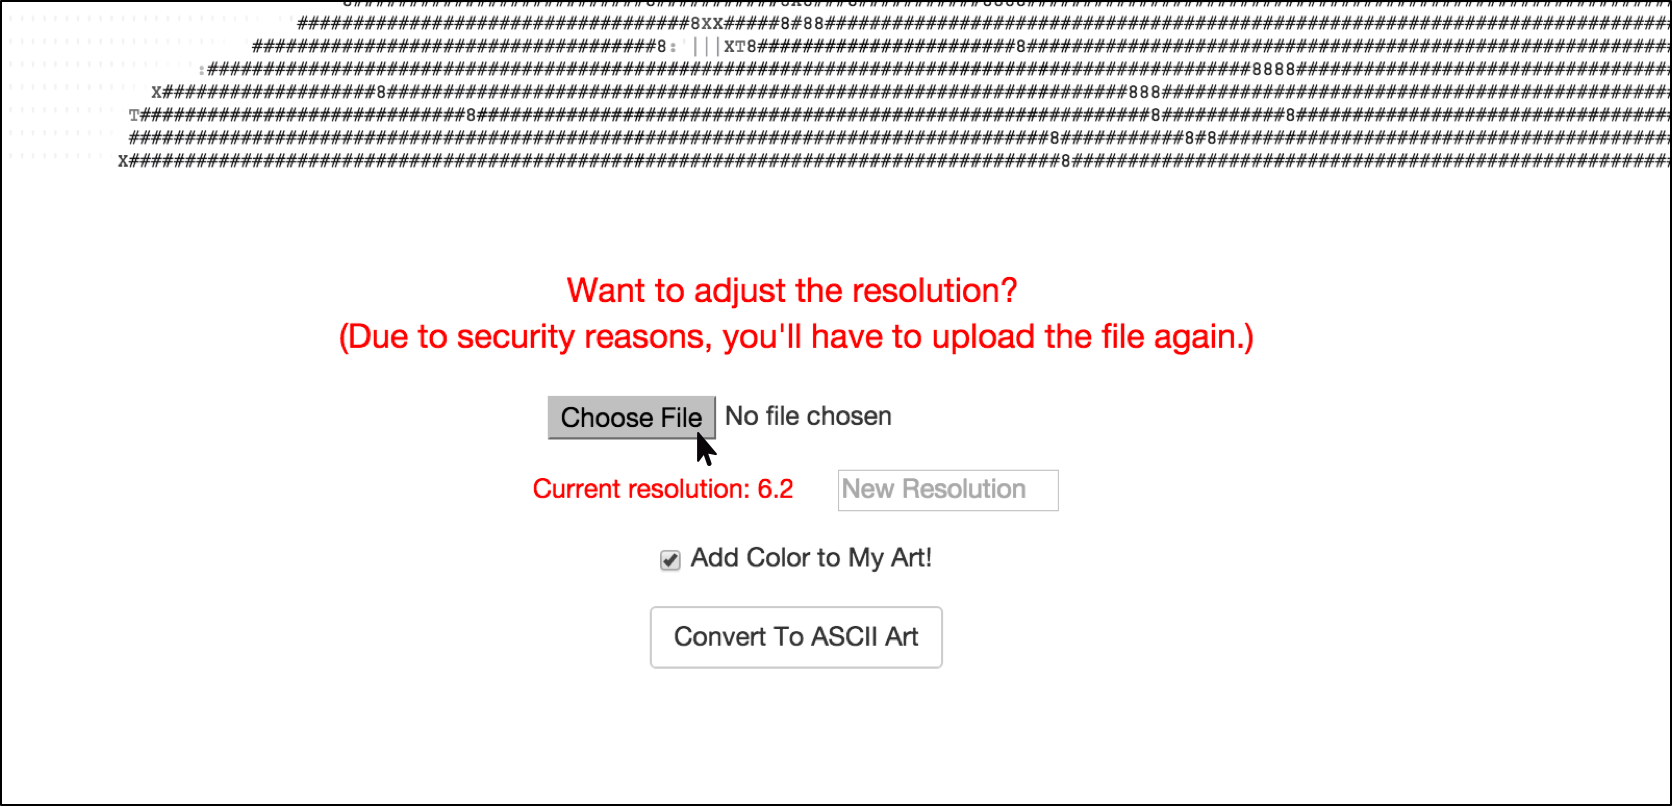
Converting uploaded images to ASCII Art
Simply click 'Choose File' and select an image from your own files.
Then, just like in the URL case, hit 'Convert To ASCII Art' to get your art!
Note: If you want to change the resolution of your current image's ASCII Art, you'll have to re-upload the image. This is for security precautions.
Created by Jack Obeng-Marnu